WELCOME TO Tapture Studio | Starting Services at ₹299
WELCOME TO Tapture Studio | Starting Services at ₹299
Meeting in our office is free | Meeting at your office ₹3000 Charges | Available on Saturday and Sunday for Meetings

Capturing stunning photos isn’t just about having the right equipment or lighting; it’s also about knowing how to direct your model. The way your model poses can make or break a shot, transforming an average image into a breathtaking one. Whether you're shooting for fashion, portraits, or commercial work, the right pose can enhance the model’s natural beauty, highlight the product, or convey a specific emotion.
In this post, we’ll cover practical tips and professional techniques for posing models to achieve stunning photos that grab attention and tell a story.
Before jumping into posing techniques, it’s crucial to establish good communication with your model. Clear communication helps build trust, comfort, and confidence—three essential elements for natural-looking poses. Here's how you can do it:
Give Clear Instructions: Be specific about what you want. Instead of vague phrases like “Look good,” tell your model exactly what you’re aiming for, such as “Shift your weight to your right foot” or “Lift your chin slightly.”
Keep the Atmosphere Relaxed: A tense model won’t pose naturally. Engage in friendly conversation, play some music, or even crack a joke to ease the mood.
Show Examples: If you can, show the model an example of the pose you have in mind, whether it's through a reference image or demonstrating it yourself. This can help clear up any confusion and ensure you’re both on the same page.
Each model is different, so it's essential to understand their body type and find poses that complement it. Consider the following when posing your model:
For Petite Models: To create the illusion of height, have them elongate their body by standing tall with their chin up. Angling the body to one side or using props like chairs can also add depth and elongation.
For Taller Models: Tall models often look best with poses that showcase their height. A slight bend at the knees or tilting the body to one side can break up the vertical lines and give the pose more energy.
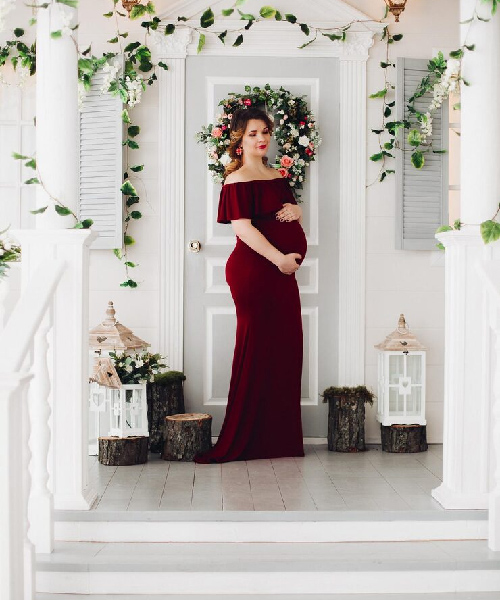
For Curvy Models: Highlight curves by directing the model to shift their weight onto one leg, creating an "S" curve with their body. This adds balance and makes the pose look more dynamic.
Good posture is essential to ensure that your model looks confident and poised in the photo. Here are some key tips for achieving great posture:
Straighten the Spine: A straight back conveys confidence and strength. Encourage your model to stand tall and avoid slouching.
Relax the Shoulders: Tension in the shoulders can make a pose look stiff and unnatural. Remind the model to roll their shoulders back and relax.
Chin Placement: Avoid the “double chin” look by having the model slightly extend their neck and lift their chin. This creates a more flattering angle, especially in close-up shots.
Engage the Core: A strong core not only helps with balance but also adds definition to the body. Encourage your model to pull in their stomach slightly to create a more refined pose.
Posing is all about creating visually interesting lines. The more dynamic and fluid these lines are, the more compelling the photo will look. Experiment with different angles to create these lines:
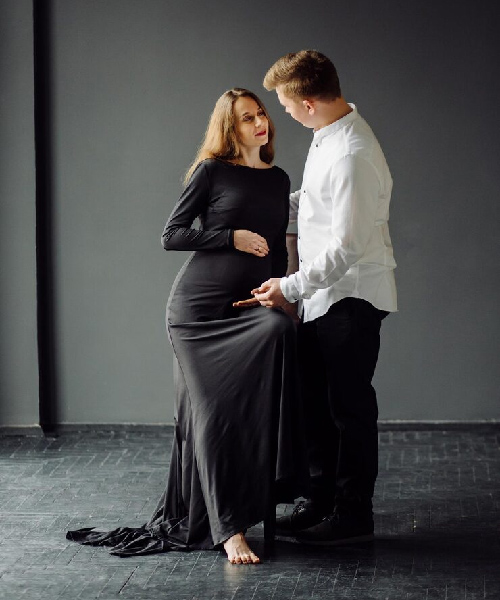
Body Angles: Have the model angle their body slightly to the left or right instead of facing directly at the camera. This adds depth and dimension to the shot. A common trick is to have the model place one foot slightly in front of the other and angle their hips to the side.
Arm Placement: Avoid having the model's arms flat against the body, which can make them look stiff. Instead, encourage the model to create natural curves by positioning the arms slightly away from the body. An outstretched arm, hand on the hip, or a relaxed hand in the pocket can all add grace to the pose.
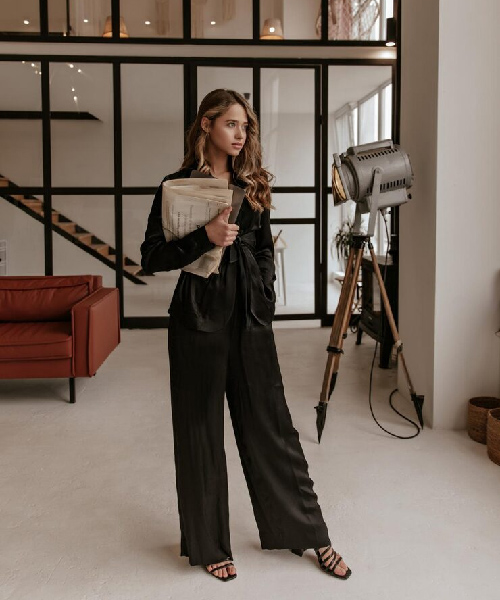
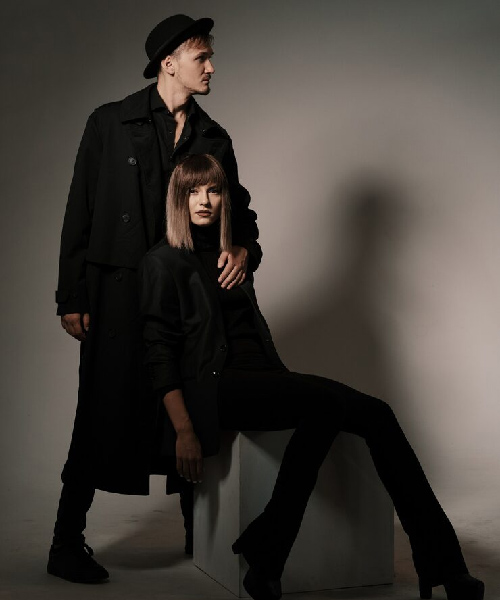
Legs and Feet: Legs should also create interesting lines. If your model is standing, have them place their weight on one leg, which creates an elegant curve in the body. If the model is sitting, ask them to cross one leg over the other for a more relaxed, natural look.
For close-up shots, facial expressions and small details become more important. Here’s how to get the best out of close-up shots:
Facial Expressions: A small change in expression can alter the entire mood of the photo. For example, a slight tilt of the head with a soft smile can create a more approachable look, while a raised eyebrow and intense stare can give a more dramatic feel. Remind the model to keep their eyes relaxed—wide eyes can look unnatural.
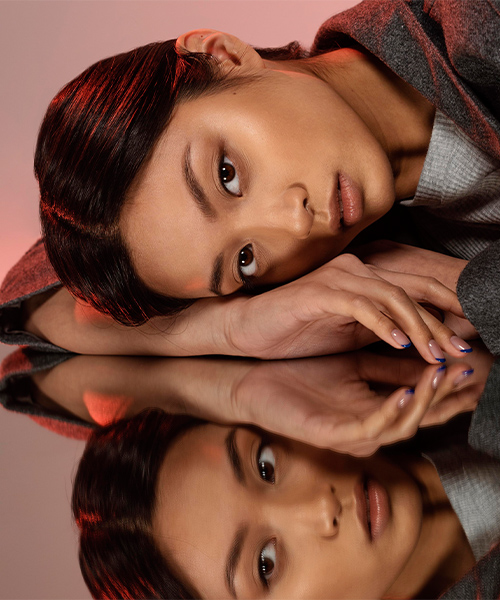
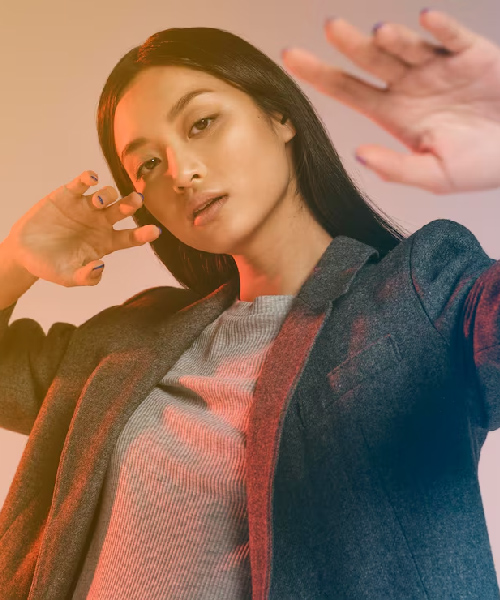
Hand Placement: Hands can express emotion and personality. Whether the model is running their fingers through their hair, touching their face lightly, or holding something near their chin, hand placement is critical in close-ups. Keep hands relaxed, not stiff, to avoid the “claw” look.
Eye Direction: The direction of the model's gaze can make a huge impact. Direct eye contact with the camera creates a connection, while looking off to the side can add mystery or introspection. Have the model look toward a light source to avoid shadows under the eyes.
Props can help a model feel more comfortable and add interest to the photo. Whether it’s a simple scarf, a chair, or a product, props can help guide the pose and give the model something to interact with. Here’s how to use props effectively:
Chairs: Having the model sit on a chair or lean against it can make the pose feel more relaxed and natural. Encourage the model to shift their weight onto one side to create interesting angles.
Accessories: If the shoot involves fashion or accessories, use the product as part of the pose. For example, if the model is wearing a necklace, they can gently touch it, adding a touch of elegance.
Movement: If you're shooting lifestyle or action shots, props like a bicycle or a coffee cup can be used to create natural movement and energy in the shot.
Often, the hands and feet are overlooked when posing a model. They can easily become awkward and detract from an otherwise beautiful shot. To prevent this:
Hands: Direct the model’s hands to rest naturally or place them in a position that adds elegance—whether resting on the hip, holding a prop, or casually at the sides.
Feet: For full-body shots, the model should avoid flat-footed stances. A slight tilt or angle in the feet, combined with weight shifted onto one leg, adds natural movement.
Don’t be afraid to get creative with poses. Some of the best photos come from spontaneous moments or unexpected angles. Try a few different poses and let the model explore their range. Often, the most stunning shots are a result of experimentation and breaking traditional posing norms.
Mastering the art of posing is key to creating stunning, professional-looking photos. It involves more than just giving instructions; it’s about understanding your model’s body, guiding them through each pose, and keeping the mood relaxed and fun. Whether you’re shooting a fashion editorial, a product advertisement, or a portrait session, the right pose can make a world of difference in the final image. By practicing these techniques and understanding your model’s strengths, you can achieve flattering, dynamic poses that elevate your photography to a professional level.
Share your shoot requirements and product details with us. Ship or deliver your products to our Delhi studio. Our professional photographers handle the shoot. Review previews, approve, pay, and download high-resolution images.
You ship the product, we create the visuals. Send your requirements and references via WhatsApp or email. Products are photographed in our Delhi studio. Review watermarked images, approve, pay, and receive final files.
Tell us about your product and shoot needs. Courier or drop products at our Delhi studio after confirmation. Our experts shoot professionally. Review images, complete payment, and download high-resolution photos.
Send your product to our studio and let us handle the rest. We shoot in a professional setup. Review sample images, approve the work, make payment, and receive final high-quality images digitally.